BOX: Working with Files
Overview
This user guide covers the following:
See also QRG Box - Working with Files
Saving FilesNote: Box supports a maximum size of 5 GB for individual files. However, Ledcor uses an enterprise version of Box with unlimited total storage, so you can upload as many individual files (5 GB or less) as required. |
|
Option 1: Drag & Drop1. Navigate to the local drive where the files or folders are. 2. Navigate to the box location where to drop the files or folders:
3. Select the files or folders, hold, drag and drop them to the desired location. Tip: Hold the CTRL key to select multiple files or folders.
|
|
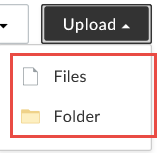
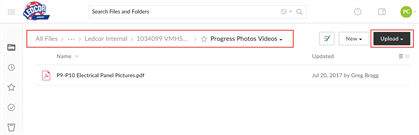
Option 2: Upload1. Navigate to the location to upload the files or folders. 2. Click Upload, and select Files or Folder. |
|
|
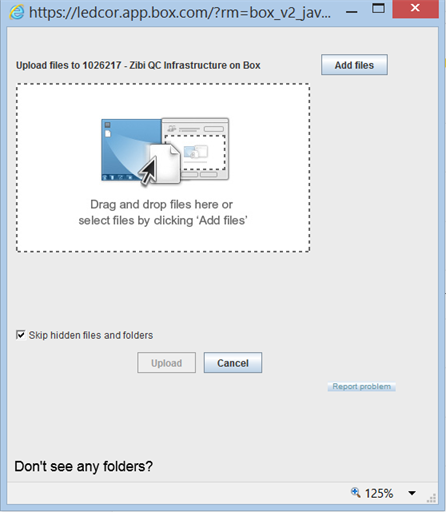
For files, a Choose File to Upload window is displayed.
|
|
|
For folders, a dialog box is displayed.
|
|
Option 3: Upload Directly from Outlook and other Office programs(Box for Office required) |
|
|
1. In Outlook, select an email message, or open an email message. 2. From the Home tab on the ribbon, click Save Attachments. |

|
|
3. In the File Explorer, select the location and click Open.
|
|
Naming Files |
|
|
Give files meaningful names. Make them descriptive and keep them simple - this will make searching for them in the future easier. Use elements such as: Job number, type of file, division, and date. |
Examples:
|
RestrictionsDo not use special characters. Box Drive will not sync files that use restricted characters in the filename (these are restricted in Windows). Keep file names as short as possible, and use abbreviations where possible. The full file path, including the file name, must be 255 characters or less in order to successfully sync using Box Drive.
|
List of special characters:
|
Renaming Files or Folders |
|
|
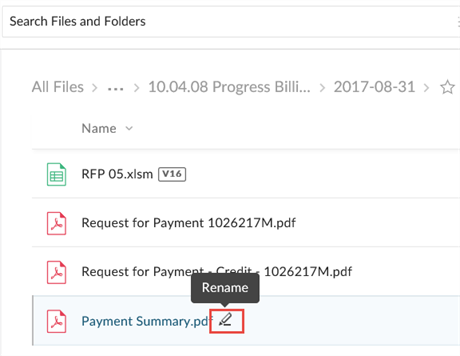
1. Navigate to the file or folder. 2. Hover over the file name until you see the Rename icon. |
|
|
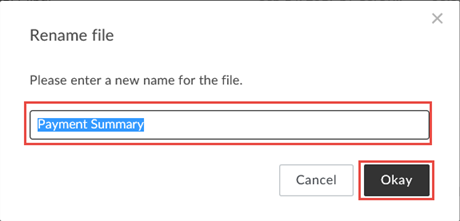
3. Enter the new file or folder name and click Okay. |
|
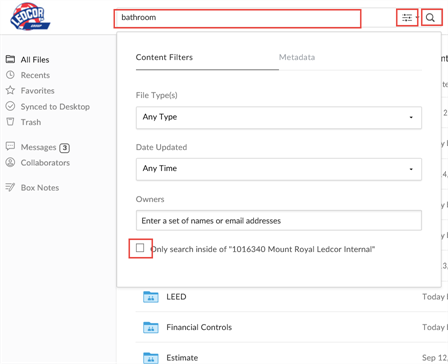
Finding Files & Search FiltersFor the best search experience, navigate to your project folder before doing a search. |
|
|
1. Enter a keyword in the Search field. 2. Click the Filter icon and check the Only search inside of “[current folder]” checkbox. 3. You can set additional filters:
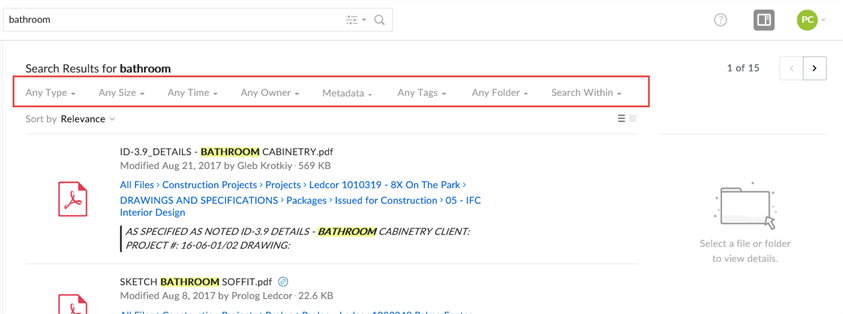
4. Press Enter or click the Search icon. Search results are displayed. |
|
|
Search Results may be further refined by using the advanced filter:
|
|
|
|
Opening Files |
|
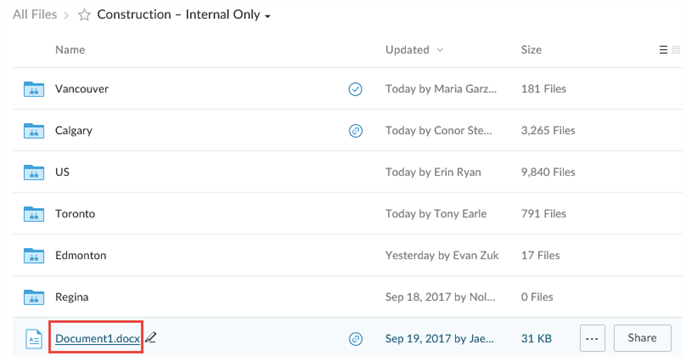
Option 1: From BoxYou can either open files directly from Box or download a copy for local use (note that downloaded files are not synced with Box). 1. From the All Files page, navigate to the file you want to open. 2. Click the file name (the filename is underlined when you hover over it).
A preview of the file is displayed. |
|
|
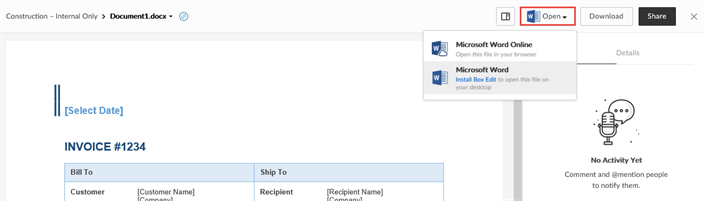
3. Click Open, and if you have more than one program that can open the file type, select the program you want to use (e.g. full desktop version of Microsoft Word or Microsoft Word Online).
|
|
|
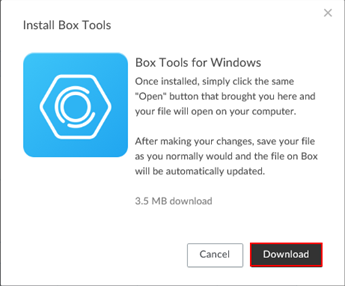
4. If an Install Box Tools dialog is displayed, click Download and follow the prompts to install Box Edit. Click Open again. The file opens in your local application. Note: If you click Download to download a copy of a file to your local computer, make sure to click ... (More Options) > Upload New Version when you upload the modified file to Box. See Using Versioning. |
|
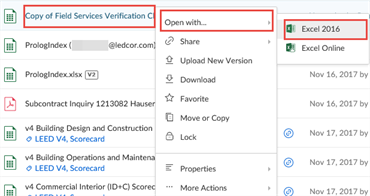
Option 2: From Box - Right Click MenuYou can open files in Box using the right-click menu, allowing you to select the application to use. 1. From the All Files page, navigate to the file you want to open. 2. Right-click the file, hover over Open with..., then select the application you want to use. |
|
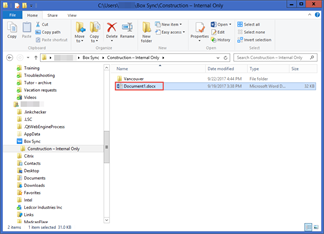
Option 3: From Box Drive1. Open the Box Drive Folder. 2. Navigate to the file you want to open, then double-click to open it. |
|
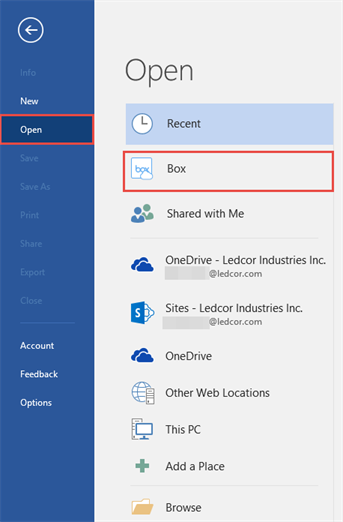
Option 4: From an Office Application1. Click File > Open. 2. Select Box. |
|
|
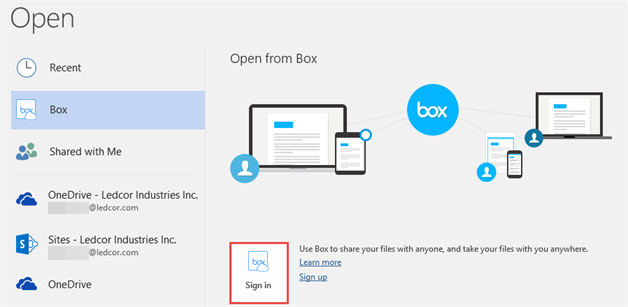
3. If this is your first time opening a file through an Office application, click Sign in.
|
|
|
4. Click Single Sign on, then enter your email address and click Authorize. 5. On the Ledcor Login page, enter your email address, and Password field, then click Sign in. Note: You only need to sign in to Box the first time; subsequently you will be able to go directly to browsing files in Box.
|

|
|
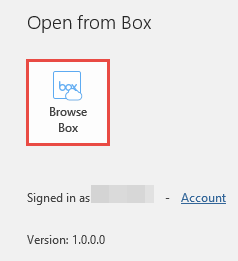
6. Click Browse Box.
|
|
|
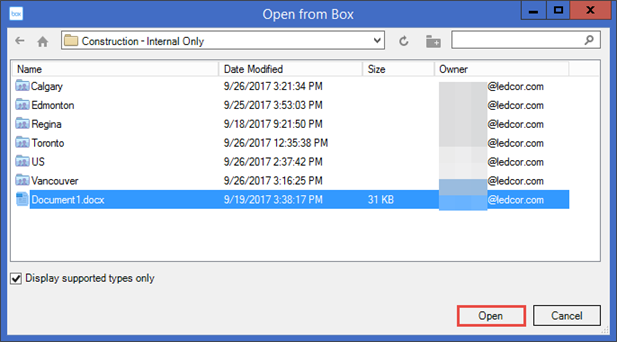
7. In the Open from Box dialog box, navigate to the file you want to open, select it, and click Open. |
|
Moving, Copying, or Deleting Files |
|
To Move or Copy files or folders:1. Select the files or folders. 2. Click Move or Copy. To Delete files or folders:1. Select the files or folders. 2. Click Trash. 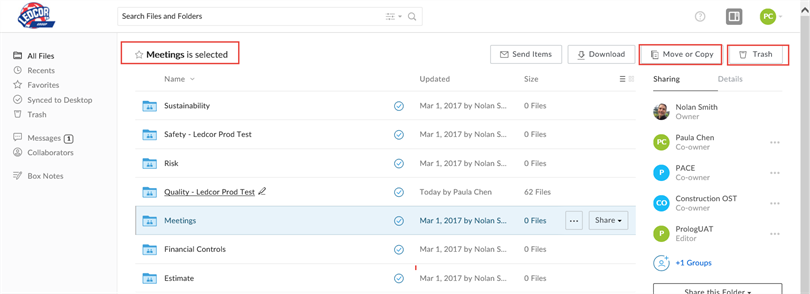
|
|
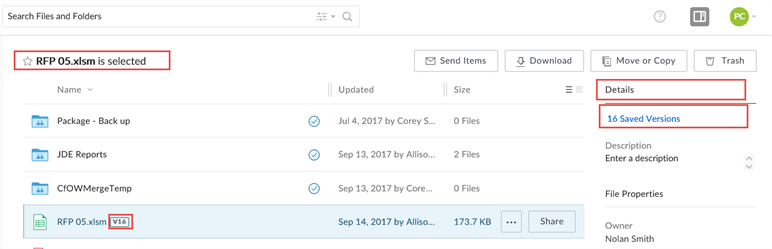
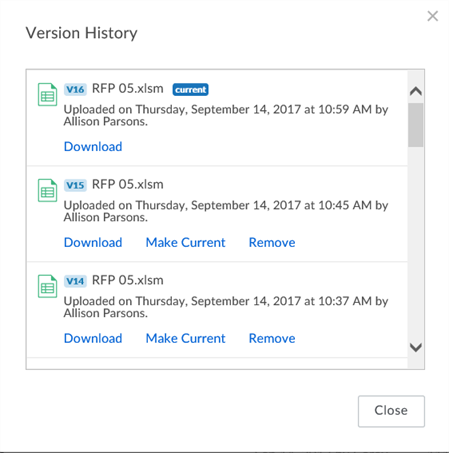
Using VersioningEach time a file is saved, a new version of it is saved. The following example shows that the file titled RFPRequest for Proposals – a formal request for submission of a proposal explaining why Ledcor is qualified to bid on the work. has 16 versions. This information is also displayed in the Details tab.
To save new versions of existing files, choose one of the following two methods: Option 1: File Name1. Save the files with the same name as the original file. This automatically creates a new version. |
|
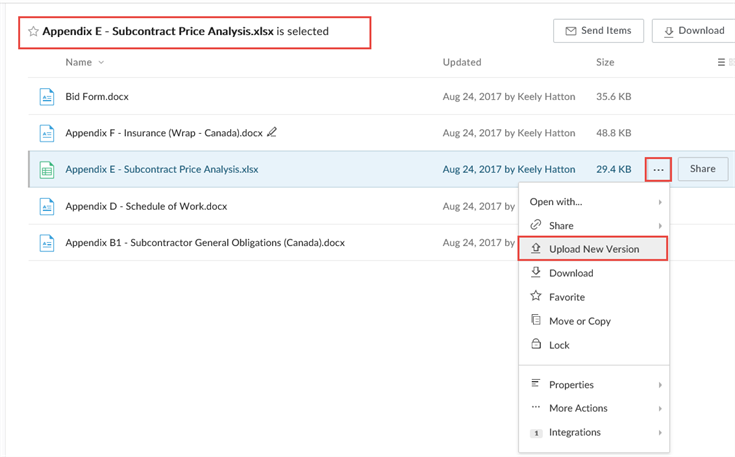
Option 2: Upload New Version1. Select the file. 2. Click More Options (…). 3. Select Upload New Version. 4. Find the saved file and click Open. Note: If the file name is different, the new version will have the new file name. Versions will be preserved with the old file name.
|
|
Locking and Unlocking FilesYou can lock individual files on both the Box website and Box Drive to avoid conflicts when multiple users want to work on a particular file. |
|
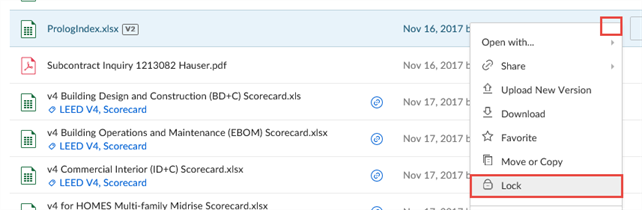
Locking a file in Box1. Click More Options (...), then select Lock.
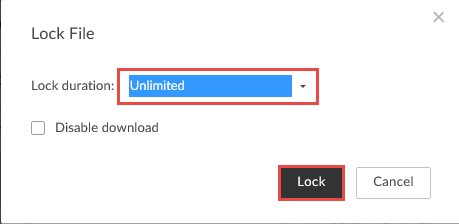
The Lock File dialog box is displayed.
2. From the Lock duration drop-down, select the length of time to lock the file (generally, the length of time you plan to be working on the file). 3. (Optional) To prevent others from downloading a copy of the file being locked, select Disable download. 4. Click Lock. A "File successfully locked" message is briefly displayed, and a red lock icon is displayed next to the file. Hover over the lock icon to see who has locked the file - contact the person to request the file to be unlocked.
|
|
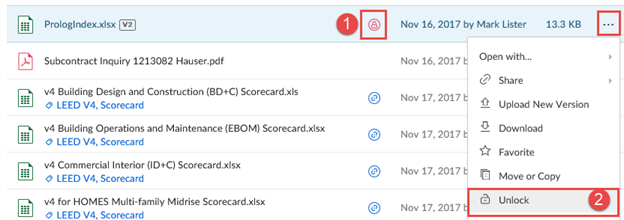
Unlocking a File in Box1. Do one of the following:
A "File successfully unlocked" message is briefly displayed, and the red lock icon is removed. |
|
Locking a File in Box Drive1. In your Box Drive folder, right click the file you want to lock and select Lock File.
A notification appears in your system tray briefly, and the file icon is displayed with a gray lock icon.
|
|
Unlocking a File in Box DriveIn your Box Drive folder, right click the file you want to unlock and select Unlock File. A notification appears in your system tray briefly, and gray lock icon is removed from the file icon.
|
|
Viewing Version HistoryBox maintains a history of up to 100 versions for each file. You can view previous versions and reinstate any previous version as the current version of a file if required. Comments entered directly in Box notes by collaborators are part of the file and are always available. To view version history, choose one of the three following methods: |
|
Option 1: Version icon1. Click the version icon next to the file name.
Option 2: Details pane1. Select the file. The Details tab displays the number of Saved Versions. 2. Click the hyperlink: (#) Saved Versions to view the Version History. Option 3: More Options menu (…)1. Select the file. 2. Click More options (…) > Properties > Version History. You can do any of the following for a version of a document:
|
|